Installing acoustic panels
This week I installed some acoustic panels in my office to improve the sound quality of the podcast.
Have you discovered my podcast yet? You must listen to my podcast. In case you haven't heard, I make a podcast. You should listen to it; it's good. Have you heard the good news about my podcast? Etc...
In case it's somehow escaped your attention, I've been having a lot of fun recording a podcast lately. It's a weekly show that we have been running for nearly a year and half now (which is something I'm rather proud of).
This week I installed some acoustic panels in my office to improve the sound quality of the podcast.
Running our show is very much a hobby, but we take it seriously and aim for the best quality we can achieve. We don't run adverts or have any external funding, so the only budget we have is what we're willing to spend (knowing it's just for fun).
Marginal gains are better than massive single investments
With all that in mind, I do sometimes splash out and "invest" in the 'cast[1]. I could blow hundreds of pounds on a microphone upgrade, but a more sensible approach is to aim for marginal gains. There are plenty of small changes that can improve audio quality, and most involve spending effort rather than money.
Improving your microphone technique is the biggest thing you can do to improve your audio quality, regardless of the gear you use. And all that takes is a little research and plenty of practice and discipline.
After working on your mic technique, the next best thing you can do is to improve the acoustic qualities of the space you record in. It makes sense: the quality of the sound you capture in you mic is the single biggest factor in the quality of the overall sound. Sometimes you can "fix it in post", but it's far easier, quicker, and cheaper to fix it before you record.
Dealing with room noise
So what is your microphone picking up? Two things: your voice, and the sounds of your environment. Hopefully you're able to record in a quiet space with little or no background noise, so it's very likely that the majority of the "room noise" you record will be reflections and reverberations of your own voice.
Every hard, flat surface in your room will bounce you voice back at the microphone. In most cases this manifests as a "boxy" sounding end result. The cure to this problem? Soften the hard surfaces and break up the reflections.
Soft furnishings will help a lot here (sofas, heavy curtains, bookshelves, etc.) but every now and then you find a large, flat surface that you can't do anything else with. That was the case in my new home office - a big flat wall right behind my desk; perfectly poised to reflect the maximum amount of sound directly at my microphone. And that's where acoustic panels come in.
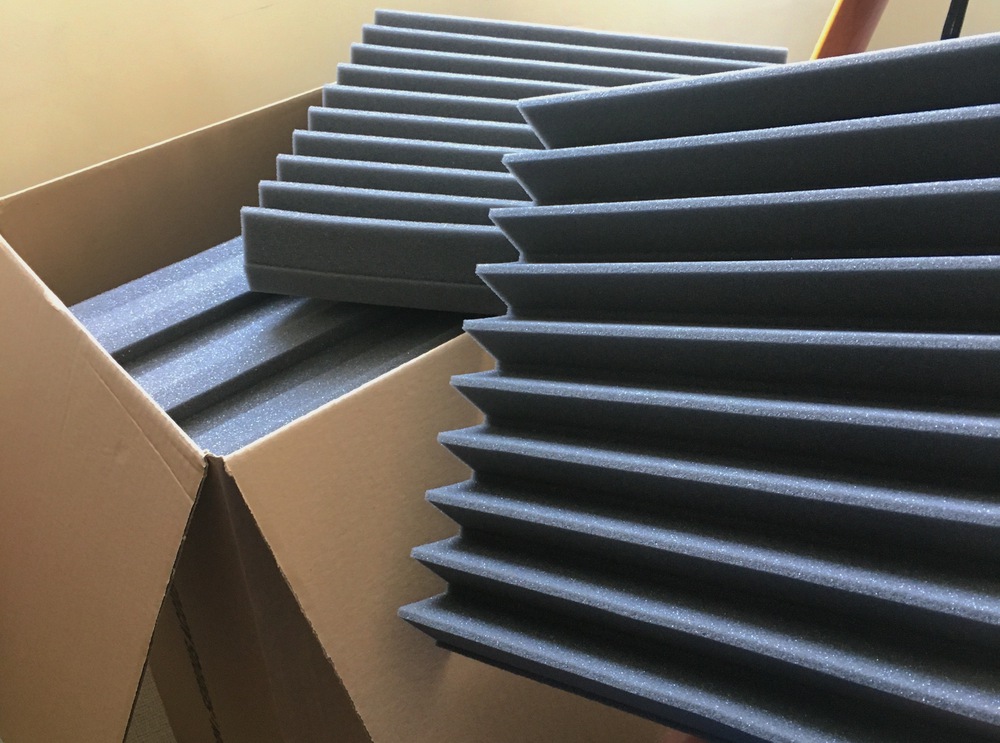
Acoustic panels
Acoustic panels are a fairly simple concept: pads of foam that you stick to your wall to reduce reflections. Compared to a lot of audio "gear", they're not too expensive. I picked up a pack of sixteen 30cm x 30cm squares for about £36. But all it is is cleverly shaped foam, so really it's actually quite expensive. But I'm not much of a DIY-er, and I'm generally happy to pay for convenience.
In "proper" studios, you'll find fancy panels with wooden frames, nice fabric covers, and dense rock-wool stuffing. They are obviously more effective than some simple foam glued to the wall, but like I said; my DIY skills are weak.
Installation (maybe)
My first attempt at attaching the foam panels to my wall did not go well. I had a set of double-sided sticky pads, recommended by the Amazon Q&A on the page that I got the panels from. After some careful positioning (with a tape measure and a spirit-level, you'll be pleased to hear), I was pretty pleased with the results. I'd yet to do any recording, but I could test that in the morning...
...jump-cut to the next morning, and many of the panels were strewn across the room or wedged between my computer and the wall. In short - not where I'd left them 🙁
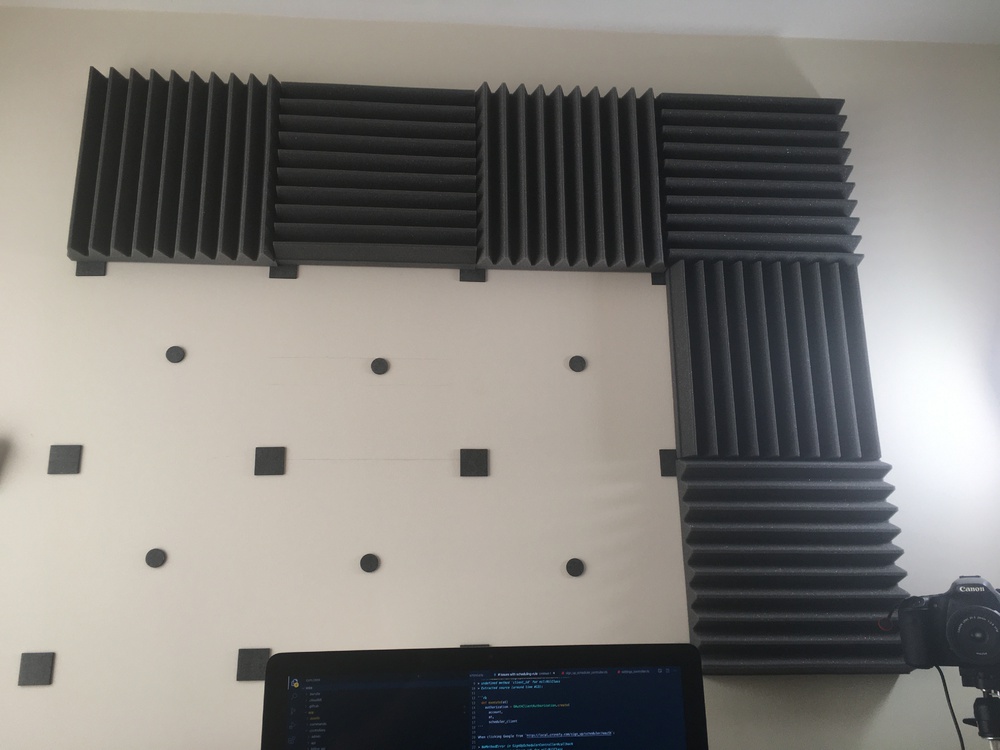
The sticky pads were not enough to hold the panels by themselves. The pads had stuck to the wall fine. In fact, if I ever want to take them off I'm sure it'll be a devil of a job! The trouble was that the pads weren't reliably adhering to the foam itself, so the panels would just drop off. Not at first (no! they were happy to lull me into a false sense of security), but gradually, over a period of hours or days, they would fall to the floor.
Installation - take two
For take-two, I took things up a notch with some serious spray mount. After doing some research, it emerged that the best course of action was to attach the panels to some kind of backing (plywood is best, but cardboard works fine). This time I was taking no chances and both the back of the panel and the cardboard backing got a liberal dousing in spray-fix. I even weighted them down and gave them plenty of time to dry.
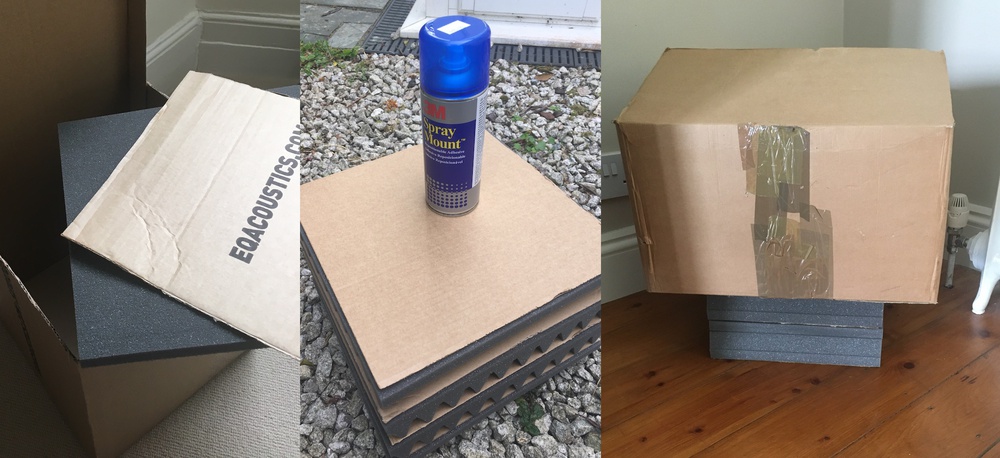
Attaching the new cardboard-backed panels to the wall was even quicker and easier than the first attempt. The sticky pads were still attached (and still sticky) so the cardboard adhered very thoroughly. Job done. Or so I thought...
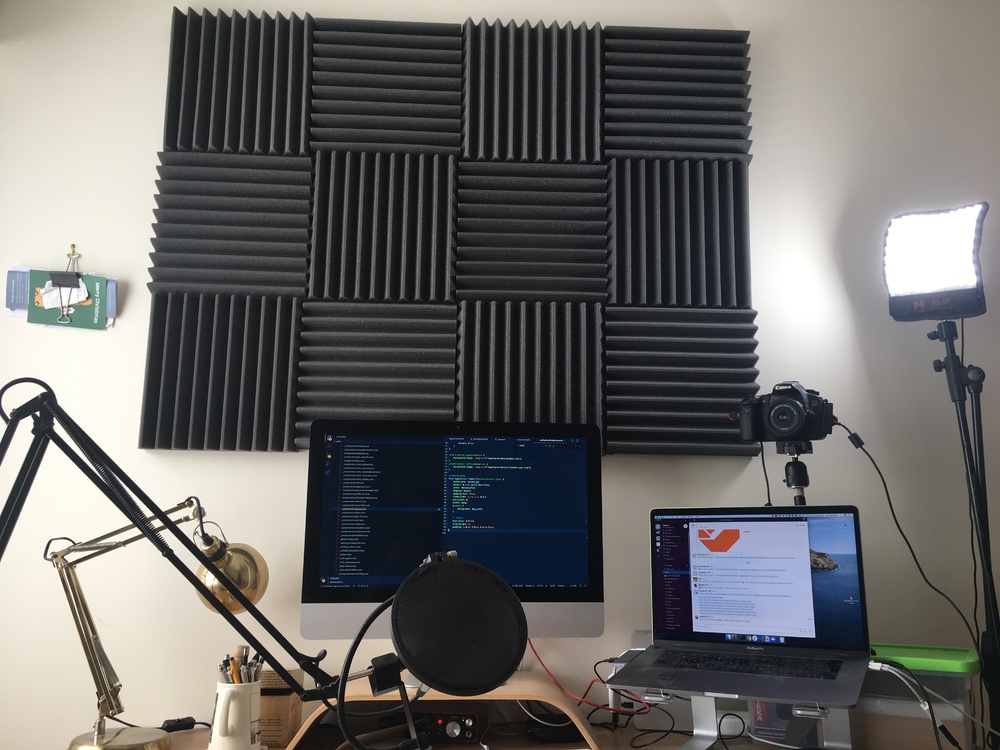
Installation - take three?
Thankfully the cardboard is still stuck fast. That theory, at least, was sound. And this time most of the panels have stayed in place. In general the glue fixing the foam to the cardboard is still pretty strong, but a couple of panels fell down overnight. Cue day three of trying to get these darned things to stay up 😬
Useful advice
If you're planning on installing acoustic foam panels, the biggest tip I can give is this: apply a sturdy backing to the foam, and make sure it's stuck fast before attempting to attach it to the wall. It's save you a lot of bother.
But was it all worth it? Stay tuned to future episodes of the A Question of Code podcast and see if you can hear the difference...
One of the first signs you've become a "podcast idiot" is you start calling them 'casts. ↩︎
Related posts
If you enjoyed this article, RoboTom 2000™️ (an LLM-powered bot) thinks you might be interested in these related posts:
Podcasting: what gear do you need?
To record a good podcast you need three essential pieces of equipment and a little bit of skill.
Similarity score: 65% match . RoboTom says:
Falling back in love with music
Ditching web audio in favour of hardware synthesisers
Similarity score: 57% match (okay, so not very similar). RoboTom says: